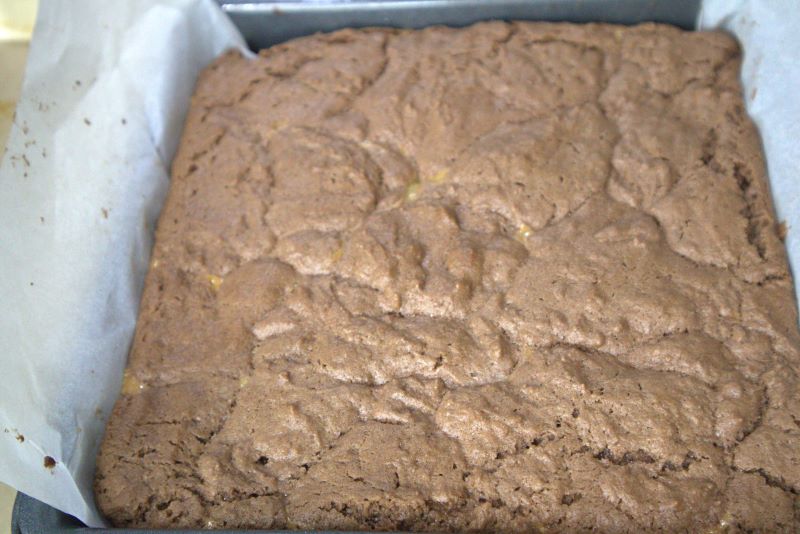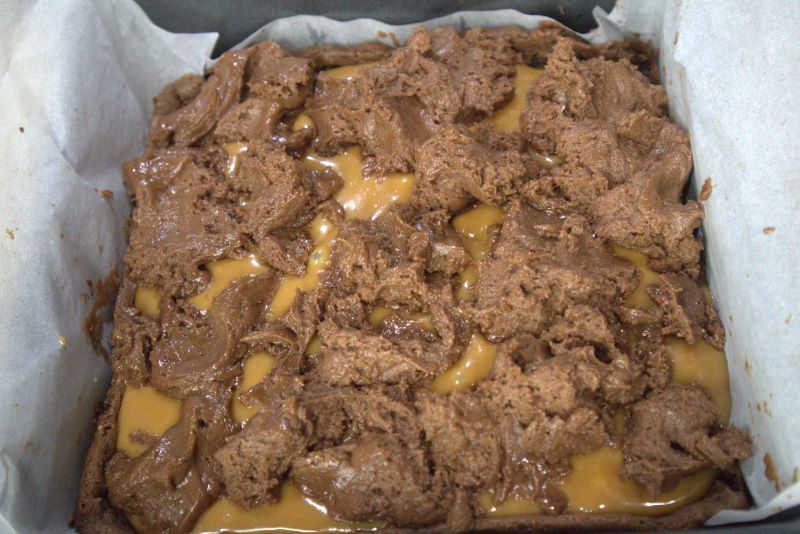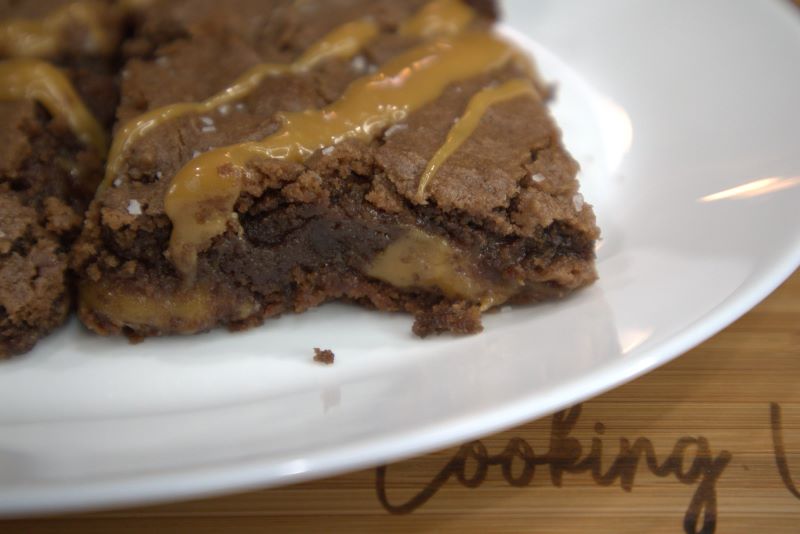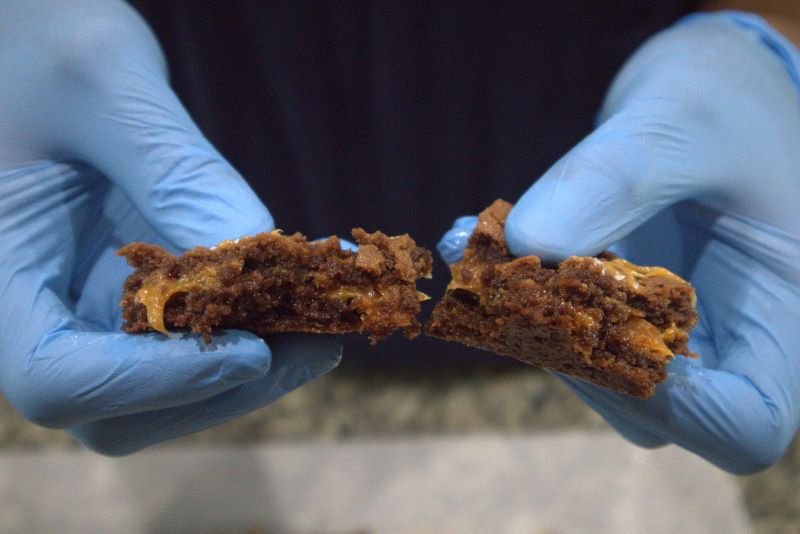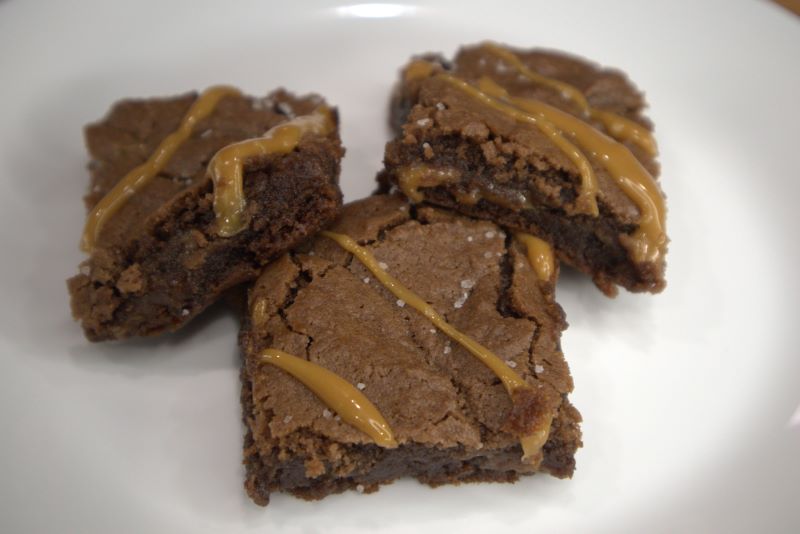
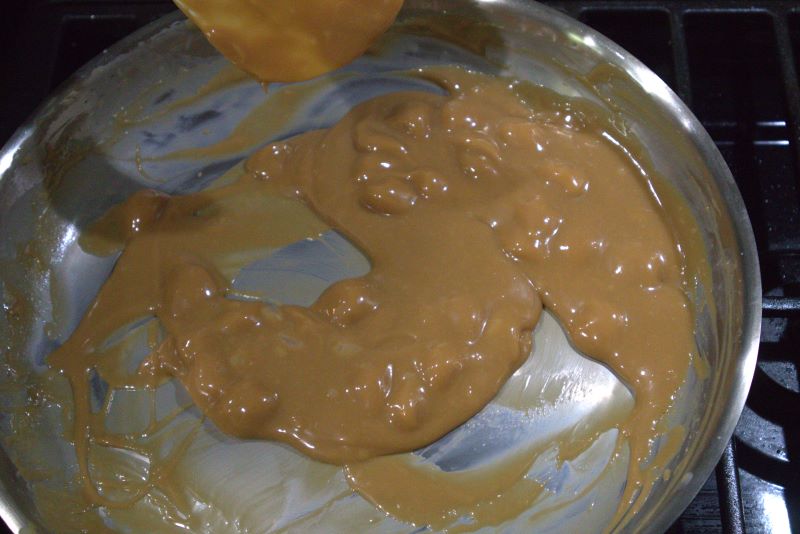
Indulgence takes a new form with a symphony of flavors that dance upon your taste buds – welcome to the world of Salted Caramel Brownies. In the realm where rich, velvety chocolate meets the irresistible allure of salted caramel, a delectable masterpiece is born. Picture sinking your teeth into a fudgy, chocolatey embrace, only to be surprised by a delicate kiss of salted caramel that perfectly balances sweetness with a touch of savory. Join us on a culinary adventure as we dive into the art of crafting these heavenly treats, exploring the marriage of contrasting flavors and textures that create a sensation unlike any other. Whether you’re a passionate baker or a devoted dessert enthusiast, prepare to be captivated by the magic that unfolds when salted caramel and brownies unite in perfect harmony.
Variation Ideas
There are numerous creative variations you can explore when making salted caramel brownies. Here are some ideas to inspire your baking adventure:
- Peanut Butter Bliss: Swirl creamy peanut butter into the brownie batter before baking, creating a luscious fusion of flavors. Drizzle salted caramel on top for an extra layer of indulgence.
- Nutty Delight: Incorporate chopped nuts, such as pecans, walnuts, or almonds, into the brownie batter for added crunch and depth of flavor. A sprinkle of flaky sea salt over the caramel enhances the contrast.
- Chocolate Overload: Intensify the chocolate experience by adding chocolate chunks or chips to the batter. Then, generously drizzle salted caramel over the baked brownies and finish with a dusting of cocoa powder.
- Spiced Infusion: Infuse the brownie batter with warm spices like cinnamon, nutmeg, or a touch of cayenne pepper for an intriguing twist. The interplay between the spiced brownie and the salted caramel is pure delight.
- Fruit Fusion: Fresh berries, such as raspberries or strawberries, not only add a burst of vibrant color but also complement the sweetness of the caramel. Serve with a dollop of whipped cream for a refreshing contrast.
- Savory Sensation: For a unique take, incorporate a hint of rosemary or thyme into the brownie batter, and then drizzle with salted caramel to create an alluring balance between sweet and savory.
- Vegan Wonder: Experiment with vegan ingredients to create plant-based salted caramel brownies. Coconut oil, almond milk, and a date-based caramel sauce can help you achieve a delightful vegan treat.
- Gluten-Free Glory: Craft gluten-free brownies using alternative flours like almond flour or oat flour. Pair these with a coconut milk-based salted caramel sauce for an indulgence that’s friendly to gluten-sensitive folks.
- Mocha Marvel: Add instant coffee or espresso powder to the brownie batter to create a mocha-infused delight. Drizzle with salted caramel and perhaps a sprinkle of crushed coffee beans for an extra kick.
- Cheesecake Fusion: Create a marbled effect by swirling a cream cheese or cheesecake batter through the brownie mixture. The creamy tanginess complements the sweet caramel beautifully.
- Fruity Medley: Mix dried fruits like chopped dates, figs, or apricots into the brownie batter for a delightful burst of sweetness. Drizzle with salted caramel to enhance the fruity notes.
Remember, the key is to have fun experimenting and customizing the recipe to your preferences. Whether you’re aiming for a classic combination or an adventurous fusion, these variation ideas will undoubtedly take your salted caramel brownies to new heights of deliciousness.
How to store Salted Caramel Brownies?
Properly storing your salted caramel brownies is essential to maintain their freshness and flavor over time. Here’s how you can store them:
- Cooling: Allow the brownies to cool completely before storing. This helps prevent condensation from forming inside the container, which can make the brownies soggy.
- Cutting: Cut the brownies into squares or rectangles before storing. This makes it easier to access and enjoy them later without having to cut through the entire batch.
- Storing in a Container: Place the cut brownies in an airtight container. This container should be large enough to accommodate the brownies without them being squished. A tight seal will help prevent air exposure, which can cause the brownies to dry out.
- Parchment Paper: Layer the brownies with parchment paper or wax paper between each layer. This prevents them from sticking together and makes it easier to separate individual pieces.
- Refrigerating: If you plan to store the brownies for more than a few days, consider refrigerating them. This can extend their shelf life and keep them moist. However, be sure to bring them to room temperature before enjoying, as cold brownies can taste firmer and less flavorful.
- Freezing :For longer-term storage, you can freeze the brownies. Wrap each brownie individually in plastic wrap or aluminum foil, and then place them in a re-sealable freezer bag. This prevents freezer burn and helps maintain the brownies’ quality. Frozen brownies can enjoyed for up to three months. To thaw, let them sit at room temperature or warm them briefly in the microwave.
- Avoid Direct Sunlight and Heat: Store the container of brownies away from direct sunlight and heat sources. Excessive heat can cause the caramel to melt and the brownies to become overly soft.
- Reheating: If the brownies have been stored for a while, you can freshen them up by briefly warming them in a low oven (around 250°F or 120°C) for a few minutes. This can help restore their texture and enhance their flavors.
Remember that the texture of the salted caramel may change slightly during storage, but the flavor should remain delicious. Whether you choose to store them in the refrigerator, freezer, or at room temperature, following these guidelines will help you enjoy your salted caramel brownies for an extended period while keeping them as delightful as the day they were baked.